Introduction to Dirt Bike Graphics and the Wet Install Technique
Dirt bike graphics are more than just aesthetic embellishments; they are a critical component of motorcycle customization that provides both personalization and protection. For motorcycle owners, the opportunity to adorn their bikes with unique designs allows for individual expression, showcasing personal style and preferences on the track or trails. These graphics serve a dual purpose, acting not only as a way to stand out among fellow riders but also as a protective layer that shields the motorcycle’s body panels from scratches, impacts, and harmful UV rays. Custom designs enhance brand identity and visibility, especially vital for professional riders and teams aiming to make a statement during races.
The application of graphics can significantly enhance the dirt bike’s overall look while also prolonging the life of its bodywork. High-quality vinyl wraps, which are designed to withstand extreme riding conditions, can absorb impacts from trail debris and prevent scratches and scuffs from everyday wear and tear. Riders can thus enjoy peace of mind knowing that their investment is safeguarded against the harsh elements encountered off-road.
A popular method for applying these graphics is the wet install technique, which simplifies the installation process while minimizing the risk of air bubbles and misalignment that often plague dry installs. This technique involves using a mixture of soapy water that allows for repositioning of the graphic during application, ensuring a perfect fit. Once positioned, the excess moisture is squeegeed away, allowing the graphic to adhere securely to the motorcycle’s surface. For those interested in implementing this method, it is vital to clean the bike’s surface thoroughly and avoid excessive moisture or harsh chemicals that could damage the paint beneath the graphics. By mastering the wet install approach, riders can transform their dirt bikes into personalized works of art while ensuring that they remain protected from the rigors of off-road riding. To explore various designs and options, check out our extensive range of dirt bike graphics.
As you consider adding or replacing graphics on your dirt bike, understanding the balance between style and functional protection is crucial.
For more detailed guidance on installation techniques, you might want to read about the wet installation method for dirt bike graphics.
Benefits of Using Dirt Bike Graphics with Wet Installation Method
Dirt bike graphics serve multiple purposes, from enhancing aesthetic appeal to providing vital protection for your bike. The wet installation method offers a range of advantages that can significantly benefit motorcycle owners and professionals alike. Here, we highlight some key benefits of using dirt bike graphics with the wet installation method:
1. Durability
One of the primary benefits of the wet installation method is its inherent durability. Graphics applied using this technique tend to adhere better, providing a strong bond between the vinyl graphics and the bike’s surface. This is especially important in off-road scenarios where conditions like mud, water, and UV rays can cause wear and tear on graphics applied with traditional methods. Wet installation ensures longevity, reducing the frequency of replacements.
2. Ease of Application
Wet installation offers a significant advantage in terms of ease of application. The use of water as a lubricant allows users to easily position and reposition the graphics during the installation process. This feature is crucial for ensuring precise alignment, especially on complex curves. Riders and technicians can adjust the positioning without the immediate commitment required with dry installation, thus minimizing the risk of air bubbles and misalignments that can ruin the look of the bike.
3. Aesthetic Appeal
Visually, wet installation can provide a professional finish. The ability to smoothly position graphics eliminates wrinkles and bubbles, leading to a cleaner, more appealing appearance. The smooth application often results in a high-gloss finish that enhances the look of the dirt bike. Riders can enjoy custom graphics that not only make their bikes stand out but also reflect their personal style.
4. Maintenance and Repair
If damage occurs, the wet method allows for easier repairs. The film can often be re-wetted and repositioned to fix mistakes or remove bubbles. This flexibility facilitates a lower maintenance burden compared to dry installation. Additionally, if a graphic gets scratched or damaged, repairs can often be made without needing to replace the entire graphic.
5. Overall User Satisfaction
Overall, users have reported higher satisfaction rates with graphics installed using the wet method. The combination of durability, ease of application, and aesthetic appeal translates to a superior experience for riders and technicians alike.
For more information on our latest dirt bike graphics, check out our selection of custom graphics and explore various options suited for your bike!


For a deeper understanding of the wet and dry installation processes, see our detailed graphic installation guide.
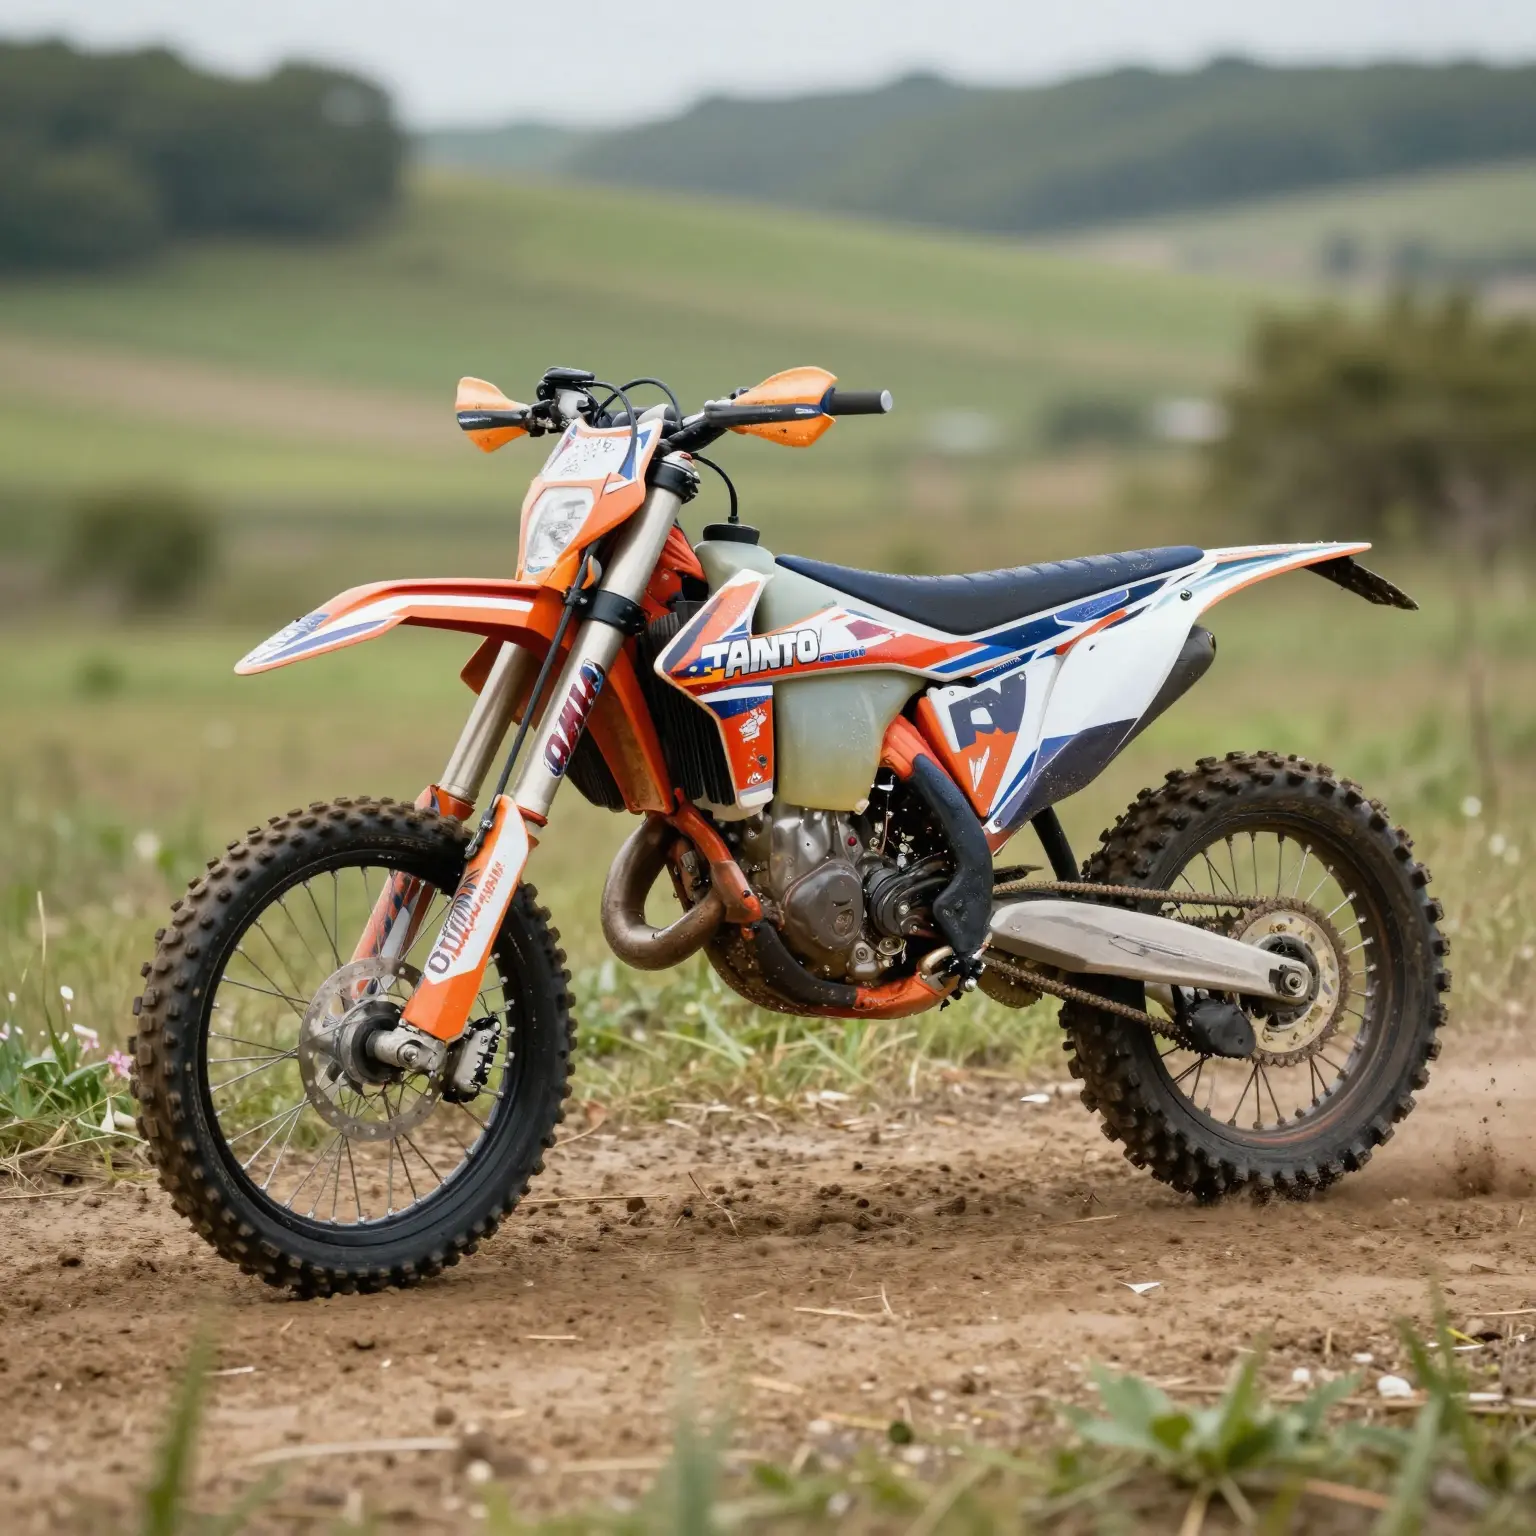
This image showcases a dirt bike with vibrant and eye-catching graphics, perfect for engaging motorcycle enthusiasts and illustrating the topic of dirt bike graphics application.
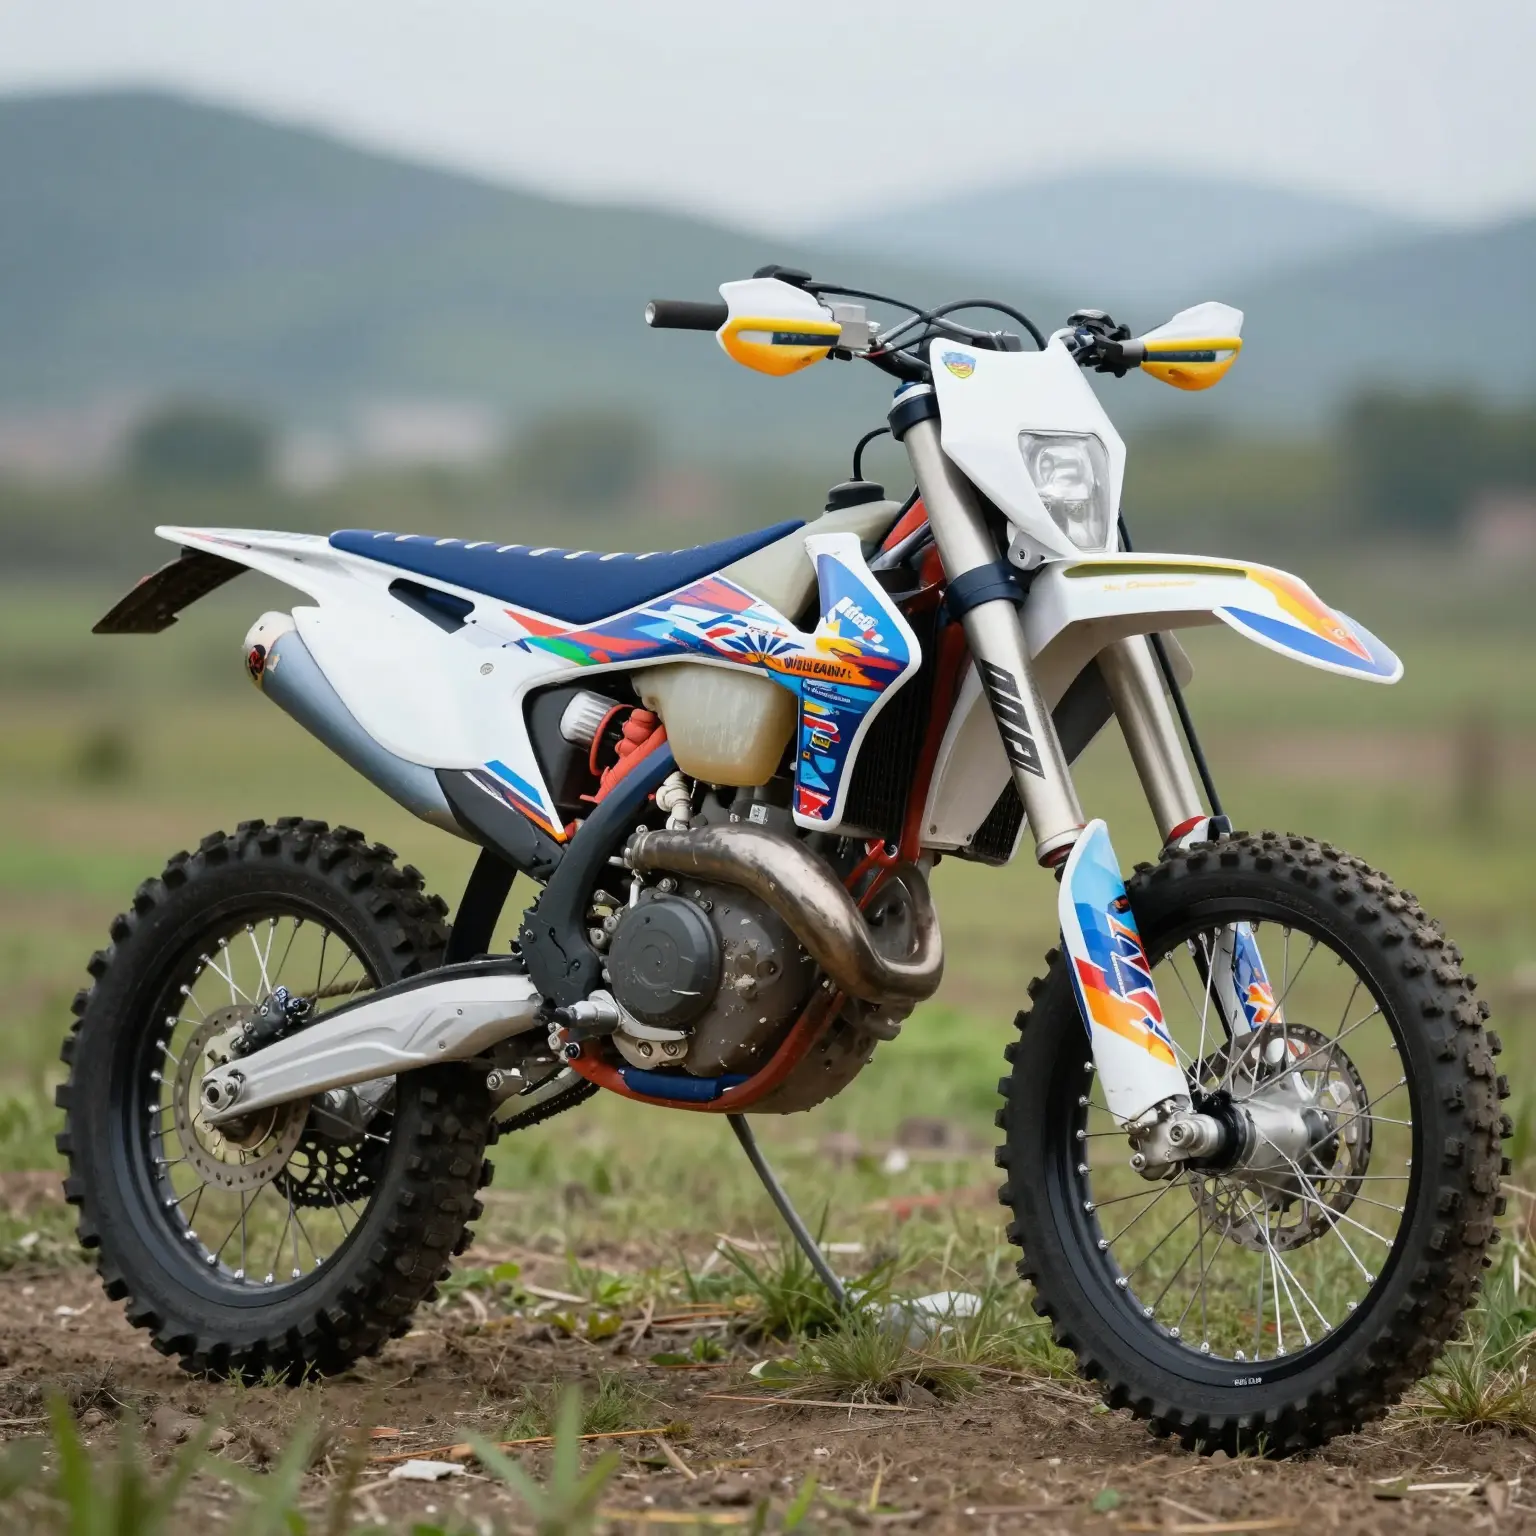
For more options on graphics for your bike, check out our dirt bike graphics selection.
Tools and Materials Needed for Wet Install of Dirt Bike Graphics
When it comes to installing dirt bike graphics, the wet method is one of the most effective techniques to ensure a flawless finish. Below, we’ve compiled a comprehensive list of the tools and materials required for a successful wet install, along with brief descriptions of each item. Whether you’re a motorcycle owner or running a repair shop, having the right tools on hand can make all the difference.
1. Water and Soap Solution
A mixture of distilled water and a few drops of dish soap creates a slip solution. This solution helps to position the graphic correctly before it adheres completely. The soap reduces surface tension, allowing for adjustments during installation.
2. Spray Bottle
A clean spray bottle is used to apply the water and soap solution to both the graphics and the bike’s surface. Ensure that the bottle has a fine mist sprayer for even distribution, which helps to avoid oversaturation and allows for precise application.
3. Squeegee
An essential tool for any wet install, the squeegee helps smooth out the graphics and remove excess solution. It’s best to use a plastic or rubber squeegee to avoid scratching the vinyl. A wide squeegee is ideal for larger areas, while a smaller one can be useful for more intricate parts of the bike.
4. Utility Knife or Scissors
A utility knife or sharp scissors is necessary for trimming any excess vinyl after the graphic has been applied. This tool ensures clean edges and that everything fits perfectly on the bike. Make sure to handle it carefully to prevent damaging the graphics.
5. Microfiber Cloth
Microfiber cloths are perfect for wiping down surfaces before installation and removing any moisture or bubbles after the graphics are applied. They are lint-free, ensuring that no residue is left behind.
6. Spatula or Installation Stick
These tools can assist in securing the vinyl in place during the install, especially in tight areas. A spatula or application stick helps guide the vinyl into place without causing any creases or bubbles.
7. Clean Work Surface
Before starting, ensure you have a clean, flat work area with adequate lighting. Having a dedicated installation space helps maintain focus and prevents dust or dirt from contaminating the graphics.
8. Heat Gun (Optional)
A heat gun can be beneficial for softening the vinyl, especially if you’re applying it to complex curves. It helps mold the graphics more closely to the contours of the bike and reduces the risk of tearing.
9. Application Fluid (Optional)
Some installers prefer to use commercial application fluids that are specifically designed for vinyl installations. These fluids can enhance adhesion and make adjustments easier during the installation process.
Key Considerations
- Surface Preparation: Ensure your dirt bike surface is clean and free from dust, grease, or residues. Using isopropyl alcohol can help in achieving a perfect cleaning result.
- Timing: Always keep an eye on how long you let the vinyl sit after applying the wet solution, as this can impact adhesion.
By using the right tools and techniques as listed, you can ensure your dirt bike graphics are installed effectively and look great. For a variety of high-quality dirt bike graphics, check out our selection from MotoGraphics. You can find specific designs for different models, including KTM Graphics and more. Happy riding!
The Importance of Graphics in Dirt Bike Customization
Motorcycle graphics play a crucial role in customization, allowing riders to express their identity and enhance their bike’s appeal. As noted in a feature in Cycle World, Mike Foss, a renowned custom dirt bike builder, states:
“Graphics are the soul of a custom dirt bike. They’re not just paint-they’re storytelling. A rider’s personality, their journey, even their team or sponsor identity is communicated instantly through the graphics.”
This sentiment encapsulates the significance of motorcycle graphics, highlighting that they do more than simply adorn a bike; they communicate the values and personality of the rider.
For those interested in enhancing their dirt bike’s aesthetics, explore our selection of bike graphics for diverse options and styles.
Step-by-Step Guide to Wet Installing Dirt Bike Graphics
Tools and Materials Needed:
- Dirt bike graphics
- Soapy water solution (a few drops of dish soap in water)
- Squeegee (or a credit card)
- Spray bottle
- Soft cloth or towel
- Utility knife (for trimming excess graphics)
- Heat gun (optional)
1. Prepare Your Work Area
- Choose a clean, dust-free environment to work in. Ideally, this area should be at room temperature (65-75°F) to ensure optimal bonding of the graphics.
- Ensure your dirt bike is parked on a stable surface and is turned off.
2. Clean the Surface
- Thoroughly clean the area where the graphics will be applied. Use isopropyl alcohol to remove grease, dirt, or any existing residues. This is crucial for achieving strong adhesion.
- Best Practice Tip: Lightly sand glossy surfaces to help the graphics stick better. Avoid harsh chemicals that may damage the bike’s finish.
3. Mix Your Soapy Water Solution
- Mix a solution of soapy water in a spray bottle. This solution will allow you to reposition the graphics as needed during installation.
4. Position the Graphic
- Remove the backing from the graphic and lightly mist both the adhesive side of the graphic and the surface of the bike where it will be applied with the soapy water solution.
- Carefully place the graphic onto the designated area without firmly pressing it down yet. This is your chance to adjust the alignment.
5. Begin Application
- Starting from the center of the graphic, use the squeegee to press out the soapy water from beneath the graphic towards the edges. This will help eliminate air bubbles and ensure even adhesion.
- Move gently but firmly; do not apply excessive pressure, as this could distort the graphic.
6. Smooth Out Bubbles
- If there are any air bubbles present, you can gently lift the graphic back up to release them or continue to smooth them out with the squeegee.
7. Trim Excess Graphics
- Once the graphic is fully positioned and smoothed out, use a utility knife to trim any excess graphic that overhangs. Be careful not to scratch the bike’s surface.
8. Seal Edges
- Optionally, apply a strip of clear vinyl tape around the edges of the graphic to enhance durability and prevent peeling in the future.
9. Cure the Graphics
- Allow the graphics to cure for at least 24 hours before exposing your bike to any wet conditions or abrasive surfaces.
10. Final Inspection
- After the curing period, inspect your graphics to ensure they are well-adhered and free of bubbles or imperfections.
Additional Tips:
- Apply graphics in shaded areas to prevent overheating and premature drying of adhesive during installation.
- For complex installations, practice on a scrap piece of vinyl before applying to your bike.
By following these steps, you’ll ensure that your dirt bike graphics are installed correctly, providing a professional look while also extending the longevity of your graphics.
Common Mistakes to Avoid During Wet Install of Dirt Bike Graphics
When applying wet-install graphics on your dirt bike, several common mistakes can hinder the outcome, affecting both the performance and aesthetics of your bike. Below is an ordered list of these common pitfalls to avoid during the installation process:
-
Air Bubbles
Air bubbles are one of the most frequent issues encountered during wet installations. These bubbles occur when the graphic is not pressed down properly, allowing air to become trapped underneath. To avoid this, ensure you work from the center outwards using a squeegee, pushing out any air as you go. If bubbles do form, a small pin can be used to puncture them before pushing the air out. -
Improper Surface Preparation
The surface of your bike should be clean, dry, and free of debris before applying graphics. Dirt, grease, or old adhesive residues can prevent the new graphics from adhering properly. Always clean the surface using a suitable cleaner or rubbing alcohol to ensure the best possible bond. This step is vital to achieving a long-lasting installation. -
Misalignment
Misalignment occurs when the graphic is not positioned correctly during installation. Once the adhesive touches the surface, it can be difficult to reposition. To avoid this, lightly spray the surface and the adhesive side with water before placing the graphic, allowing for minor adjustments. Make sure to mark alignment points beforehand to help in achieving the perfect placement. -
Ignoring Temperature and Humidity
The conditions under which you install graphics matter a lot. High humidity or extreme temperatures can affect the adhesive properties, leading to poor adhesion or lengthy curing times. It’s best to apply graphics in a controlled environment where both temperature and humidity levels are stable. Ideally, aim for temperatures between 65°F and 85°F (18°C to 29°C). -
Using Excessive Water or Solution
While it’s essential to use a solution for wet installations, too much water can lead to a slippery surface, making it hard for the graphics to grip effectively. Use just enough solution to allow manipulation of the graphics without saturating the surface. A fine spray will often suffice without over-saturating the area. -
Neglecting to Use a Squeegee
Failing to use a squeegee during the application process can lead to uneven surfaces and trapped air. A squeegee aids in removing excess water and ensuring the graphic adheres firmly to the surface. Always employ one when applying wet-install graphics for a smoother finish and better adhesion. -
Rushing the Process
Wet installation requires time and patience. Rushing through the application can lead to mistakes such as misalignment and air bubbles. Take your time to ensure everything is correct before the adhesive sets. Allow each stage of the installation process to be completed fully, focusing on accuracy rather than speed.
By avoiding these common mistakes, you can achieve a professional-quality finish in your dirt bike graphics wet install. For more on choosing the right graphics for your ride, check out our selection of dirt bike graphics that fit your style!
Comparison of Popular Vinyl Graphic Brands for Dirt Bikes
When it comes to choosing vinyl graphics for your dirt bike, several brands offer unique features, price points, and customer experience. Here’s a detailed table that compares some of the most popular options:
| Brand | Features | Price Range | Customer Reviews |
|---|---|---|---|
| D6015 | Durable, weather-resistant, vibrant color retention | $19.99 – $99.99 | Generally positive; praised for ease of application and durability, but some alignment issues noted. |
| ProTape USA | Industrial-grade vinyl, UV protection, custom options | $35 – $120 | Highly rated; recognized for quality and longevity, though installation requires care. |
| Tuff Grip | Fade-resistant vinyl, strong adhesive, available in glossy/matte | $29.95 – $99 | Positive feedback for clean look and durability, some note glossy version attracts fingerprints. |
For more on ProTape graphic kits or explore Dirt bike graphics options.
User Experiences with Wet Install Dirt Bike Graphics
The installation of dirt bike graphics using the wet method has garnered significant attention in the motorcycle community. This technique, preferred by many enthusiasts, offers a number of benefits that enhance both the appearance and durability of the graphics. Below, we explore user testimonials and feedback about their satisfaction with wet install techniques, highlighting common themes and experiences.
Enhanced Aesthetic Appeal
Many riders who opted for wet-installed graphics expressed satisfaction with the overall look and finish. A blog post on Custom Pro Graphics showcases verified customer testimonials praising the clean, professional aesthetics that come from using the wet install technique. One rider noted, “The wet install made the graphics look like they were painted on-no bubbles or wrinkles.” This sentiment is echoed among users who appreciate the smooth, high-gloss finish that often outlasts dry installs.
Superior Durability and Performance
Durability is a key factor for riders investing in graphics. Reports indicate that wet-installed graphics tend to withstand harsh conditions better than their dry-installed counterparts. According to a comprehensive review by Off-Road Gear Review, customers shared that these graphics have remained intact even after intense rides on muddy and rocky terrains. A frequent off-road racer mentioned, “After three seasons of muddy trails and crashes, my wet-installed graphics still look brand new.” This overwhelming feedback underscores the resiliency of wet-installed graphics against elements like mud, heat, and impact.
Installation Process Insights
While the final look and durability of wet install graphics are well-documented, users also provided insights into the installation process itself. Many riders noted that, although the wet install technique requires more care during application, the effort is justified by the result. The installation techniques often involve detailed guides, and companies like ProGraphics USA offer visual testimonials, showcasing their installation processes here.
Resilience in Extreme Conditions
Numerous testimonials highlight the need for graphics to perform under extreme conditions. Riders shared stories of their bikes enduring challenging environments while ensuring their graphics remained intact. A user documented how their bike survived a 10-foot drop into rocky territory with only minor paint damage and no peeling of graphics. Another rider shared their journey through desert racing, demonstrating that wet-install graphics can withstand the elements remarkably well.
User-Friendly Experience
Customers who have experience with wet installs consistently mention that these graphics come with comprehensive installation guides. This support has been pivotal for many who may be trying this method for the first time. The combination of professional support and high-quality materials simplifies the process for motorcycle technicians and enthusiasts alike. Riders appreciate having access to step-by-step visuals that make the application straightforward and achievable.
Conclusion
The positive feedback regarding the wet installation technique for dirt bike graphics is irrefutable. The glossy, professional appearance, coupled with outstanding durability under challenging circumstances, makes it a preferred choice for many riders. Given the documented success stories, such as those found through MotoGraphics, it’s clear that investing in wet-installed graphics is an excellent decision for both the aesthetic and functional longevity of a dirt bike.

Conclusion: The Importance of Quality in Graphics Installation
As we conclude this discussion on the art of wet installation for dirt bike graphics, it’s essential to reiterate the substantial benefits of investing in quality graphics. Whether you’re a motorcycle owner, a repair shop, or a technician, understanding the value that a proper installation brings can dramatically elevate your riding experience.
Benefits of Quality Graphics Installation
High-quality graphics not only enhance the aesthetic appeal of your bike but play a crucial role in its protection and performance. Professionally installed graphics safeguard the original paintwork against scratches and UV damage, ensuring your dirt bike maintains its value over time. According to experts, well-designed, durable vinyl wraps are resistant to mud, water, and impact, making them ideal for off-road conditions. Investing in quality graphics means you’re also investing in your bike’s resale value and, ultimately, your pride of ownership.
The Value of a Proper Wet Install
A well-executed wet install is paramount to achieving the longest-lasting results for your bike’s graphics. This installation method allows for precise alignment and minimizes the risk of air bubbles and wrinkles, which can mar the appearance and adherence of graphics. Notably, wet installation has been shown to enhance the durability of graphics, providing better adhesion to complex surfaces and contours found on dirt bikes. Without this method, graphics are more exposed to lifting and peeling, especially when subjected to the harsh conditions of off-road riding.
Encouragement to Invest
To maximize the benefits of your graphics, we encourage you to consider professional installation and high-quality products. Explore our extensive collection of custom graphics specifically designed for various models, ensuring you find the perfect match for your bike.
In summary, don’t skimp on quality when it comes to your dirt bike graphics. The right choices now will pay dividends in performance, durability, and satisfaction on the trails. A quality graphics installation isn’t just about looks; it’s about protection, performance, and pride in ownership. Invest wisely, and enjoy the thrill of riding with a bike that reflects your style and excellence!